Decide whether compost is ready by looking at the batch’s history, its current condition, and the use you have in mind. A pile that looks smaller or feels cool has given you an observation, not a complete answer.
You want a material that has finished the active stage and had time to stabilize before you place it around growing plants. Keep unfinished pieces and fresh additions separate from the portion you are evaluating.
Start by identifying the batch you actually intend to harvest. That simple boundary makes the rest of the check much more useful than judging an entire bin that receives new scraps every day.
Find the beginning and end of your batch
Ask when you last added fresh material to the portion you are considering. If yesterday’s vegetable trimmings are mixed through it, the age of the oldest leaves tells you very little about the newest additions.
Maryland Extension distinguishes continuously filled systems from batch composting. In a continuously filled bin, older material below and newer material above can be at different stages, so do not assign one maturity date to the whole contents.
Choose a clearly separated portion to evaluate and give it a temporary name, such as the finished side of your two-bin setup. The name does not certify readiness; it prevents the sample you inspected from becoming confused with another portion.
If you cannot separate older material without mixing fresh inputs into it, change your harvesting plan. Waiting for a distinct batch is more informative than picking a few dark handfuls from a bin that is still being fed.
Check several signs together
EPA describes finished compost as dark, loose and crumbly, with an earthy smell. Most original materials should no longer be recognizable, although larger woody pieces may remain and can be screened out for further composting.
Look through more than the attractive surface layer. A dark crust above recognizable food scraps is a mixed observation, and you should not let the top handful represent everything you plan to move into your garden.
Write down what you actually see and smell without turning the description into a pass-or-fail slogan. For example, record that the center still contains distinct fresh scraps rather than writing that the bin looks mostly finished.
Use a tool appropriate to the pile and your normal work precautions, and keep the assessment separate from handling food. You do not need to taste compost, put your face into it, or use an improvised exposure test to learn whether it is ready.
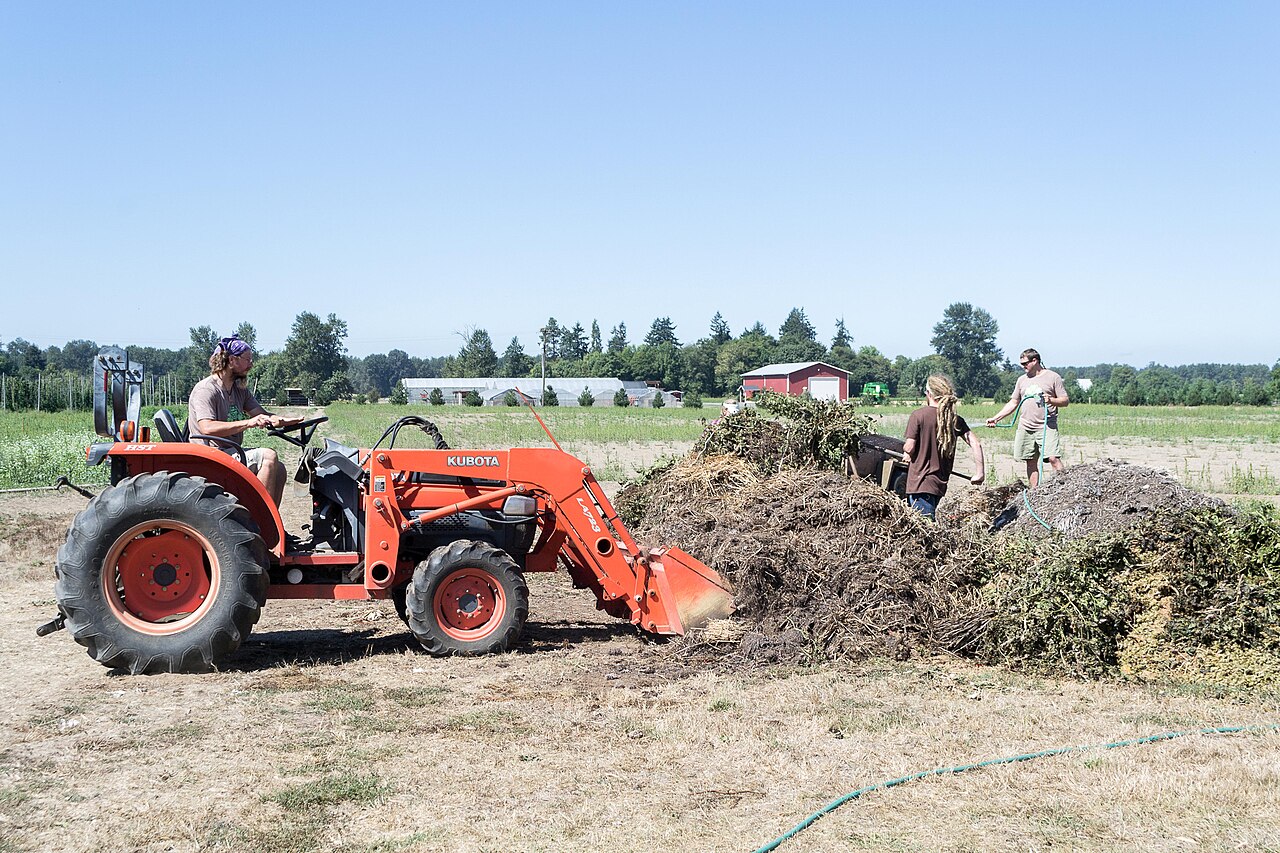

Understand what a cool pile does not tell you
A cooler pile may be moving beyond its active phase, but temperature alone leaves important questions unanswered. A pile that has stopped working because conditions are poor should not be relabeled mature merely because it is no longer warm.
Maryland’s guidance notes that insufficient moisture can stop decomposition. Think about the pile’s recent care and contents when you interpret a lack of activity, and use its full composting instructions if you need to correct the process.
Compare repeated observations of the same batch rather than isolated impressions of different spots. If you turn or otherwise manage it according to your chosen guidance, note what happens afterward before treating the absence of further heating as meaningful.
Do not borrow an elapsed-time promise from a different system. A frequently managed batch, a passive leaf enclosure and a continuously filled kitchen-scrap bin do not share one reliable completion date just because they all contain organic material.
Give curing its own place in the schedule
Active decomposition and curing belong in separate parts of your plan. Finishing the most noticeable breakdown does not mean that every material is immediately suitable for every planting use.
In EPA’s home-composting process, once the batch no longer heats after mixing and recognizable food scraps are gone, the guidance calls for at least four weeks of curing. Treat that as part of that process, rather than a shortcut that certifies an unrelated pile.
Put the batch aside without adding new scraps and record when that stage began. If someone empties a kitchen container into it during curing, update the record instead of leaving the old label in place.
Keep your intended use out of the calendar calculation until the material itself is ready. An approaching planting weekend does not change the contents of a bin, so be willing to use another suitable material or postpone that addition.
Separate maturity from other quality questions
Illinois Extension cautions that even dark, crumbly, earthy-smelling compost can still have plant-related problems, including ammonia or an unfavorable carbon-to-nitrogen balance. Appearance helps you decide what to investigate; it does not describe every property of the material.
If the history of the inputs raises a contamination concern, do not expect curing to answer it. Keep the material out of a sensitive use while you ask an appropriate laboratory or local Extension office what evaluation fits that specific concern.
Ask what a proposed test actually measures before ordering it. A nutrient panel, a maturity assessment and an investigation of a suspected contaminant are different questions, even when a laboratory offers more than one service.
Illinois also describes a germination comparison as one way to examine plant response. Follow its actual instructions if you choose that approach, and do not reinterpret a few sprouted seeds as proof that the batch is free of pathogens, metals or weed seeds.
Match the finished material to the job
Write down where you intend to use the compost and what it is supposed to do there. Adding an amendment to a bed is a different decision from filling an enclosed container or starting seeds in a controlled medium.
Do not assume mature compost is a complete substitute for every growing medium. For a raised-bed purchase, use our bagged-soil guide to separate the fill decision from the question of whether your compost batch is finished.
Likewise, a good-looking batch does not tell you how much nutrient your garden needs. If your reason for adding it is a soil-test recommendation, read the actual report and ask how that recommendation applies to the material you have.
Consider access before you harvest everything at once. A small, clearly identified finished portion may be easier to move and keep separate than a large mixed pile that spreads across your working path.
Keep shared-bin labels understandable
If several people use the same compost area, agree on where fresh material belongs before you reserve a batch for curing. A sign should name the allowed action, such as add scraps here or leave this batch alone, rather than rely on a color nobody has explained.
Use the same batch name in your notebook and on the bin. When a helper moves material, ask them to record the move so that the sample you evaluated does not silently become a different mixture before you use it.
Make the next harvest easier to judge
Save a short record of the last fresh addition, the observations you made, the start of curing and the final use. Include any pieces you screened out and returned to active composting so that you remember why the harvested portion differed from the original pile.
For example, a useful note might say that the older bin was set aside, checked again and used only in the intended bed. That record is more useful next season than a photograph captioned finished compost without any history.
If you remain uncertain, keep processing or seek help with the actual batch description. You can delay a compost addition much more easily than you can retrieve mixed material after spreading it through a planted bed.
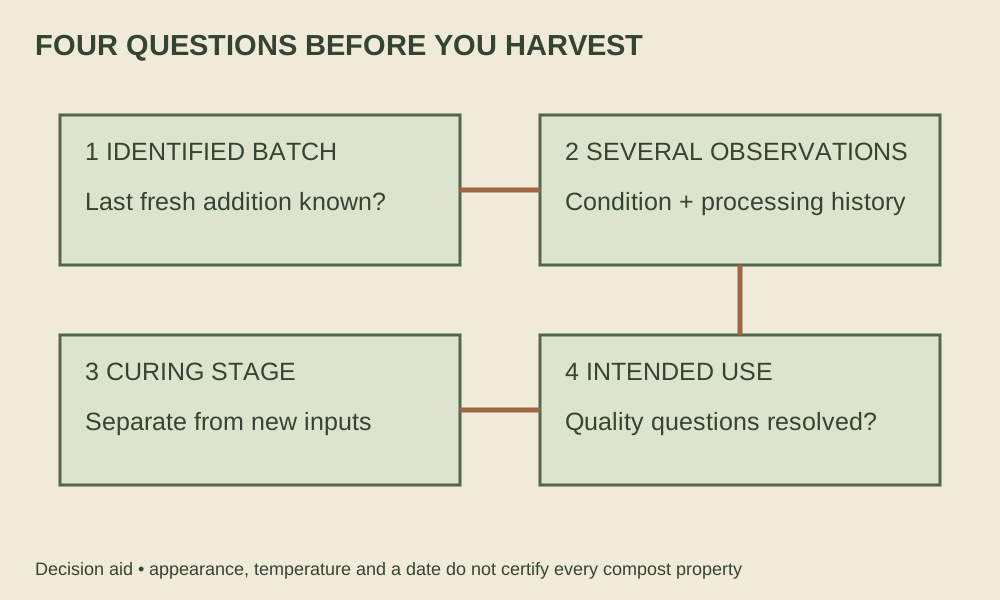
Your final decision should connect an identified batch to several observations, an appropriate curing stage and a specific use. That gives you a reasoned harvest decision while leaving room to investigate questions that appearance alone cannot settle.