Plan a small garden’s drip irrigation by mapping the plants, identifying the water supply and matching the complete system to its manufacturer’s requirements. Start with the layout and operating conditions rather than a kit’s advertised number of pieces.
You need water to reach the intended root areas, and you need a practical way to confirm that it arrived. A timer can operate a valve, but it cannot tell you whether a disconnected or blocked line watered the right place.
Treat the first drawing as a planning document. It should reveal questions about the source, components and maintenance before you turn an appealing bundle into a permanent installation.
Draw the garden at working scale
Measure bed lengths, gaps, paths and the route from the water source. Include the areas you must cross to harvest or move a cart, since those routes can expose tubing to repeated disturbance.
Mark plants or crop rows rather than simply shading each bed as one uniform rectangle. A row of closely spaced vegetables and several widely separated containers may need different delivery arrangements.
Utah State Extension distinguishes point-source emitters, fixed-spacing drip lines and drip tape. Those formats serve different layouts, so identify which one suits the actual planting pattern before comparing packages.
Keep future expansion on a separate layer of the sketch. Size and verify the system you can support now rather than quietly adding every possible future bed to a kit without checking its limits.
Identify what is feeding the system
Write down the source type, connection and any restrictions that apply to its use. A household faucet, a pump-fed supply and a stored-water arrangement should not be treated as interchangeable because tubing can physically connect to them.
Colorado State’s home drip-irrigation guidance explains that filtration, pressure regulation and appropriate system sizing are important parts of reliable operation. Common trouble includes omitted components, excessive line lengths and more emitters than the system can support.
Use the actual product instructions to identify the required operating conditions. A pressure number observed with no water moving does not, by itself, establish that those conditions will be present while the planned zone is operating.
Check backflow-protection requirements with your water provider or qualified local installer. Do not improvise a device arrangement from a photograph or assume that a purchased timer supplies every required protective function.
Build a component list with a clear purpose
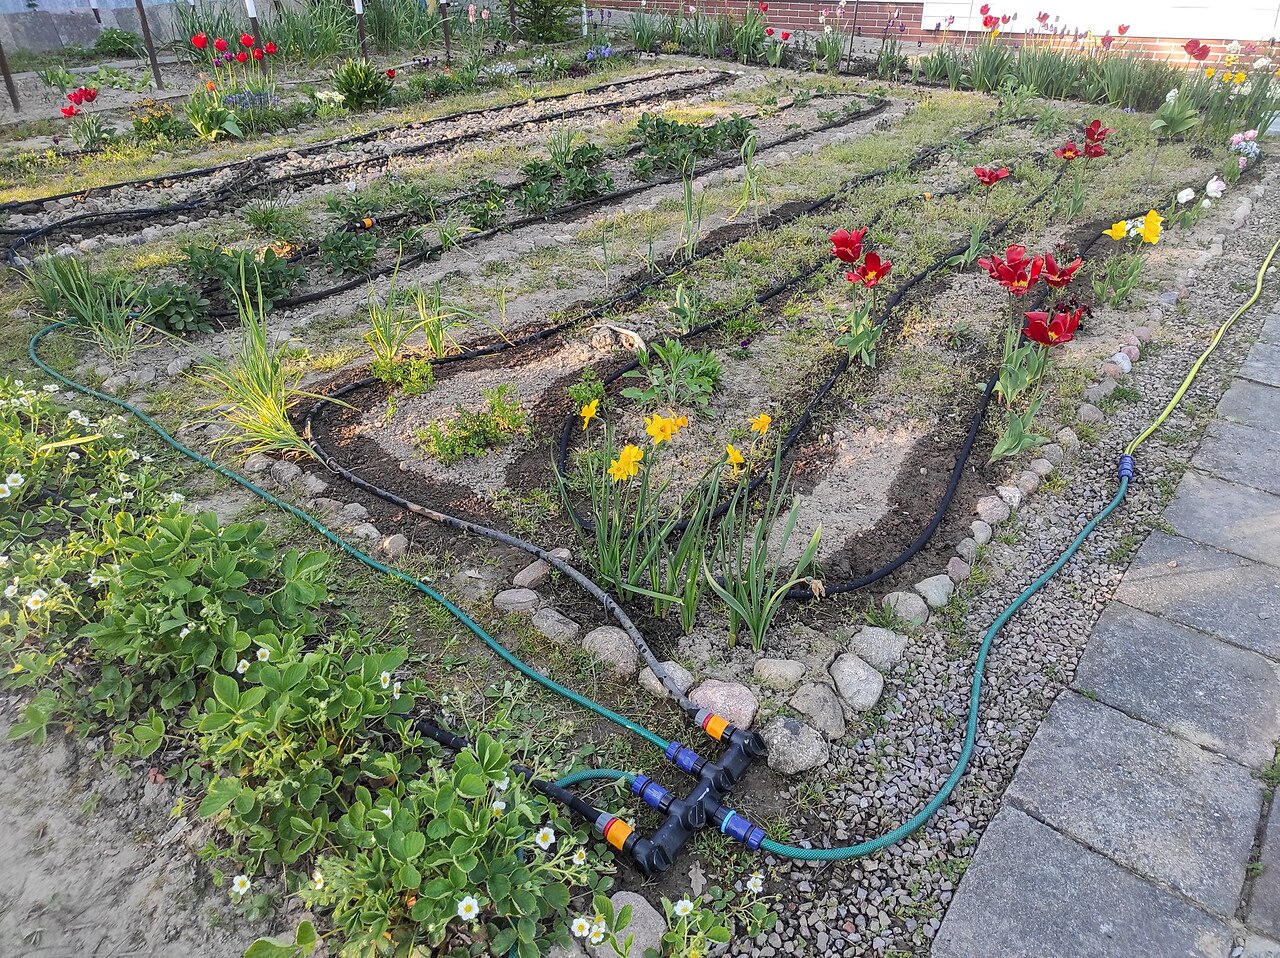
List the source connection, required protective devices, filter, regulator, main distribution tubing and delivery components. Add fittings, end closures and any supports specified for the chosen products rather than counting only the emitters.
Match the actual tubing sizes and connection types across the list. Similar-looking parts and a shared brand name do not guarantee compatibility, especially when a seller groups several sizes into one listing.
Leave space beside each item for the manufacturer’s model or part number. That makes the shopping list useful when you need a replacement later and prevents a vague description such as small connector from becoming your only record.
If you choose a kit, compare its included parts against this list. The question is whether it supplies a suitable complete arrangement for your source and layout, not whether its piece count is larger than another box’s.

Keep flow, pressure and watering depth distinct
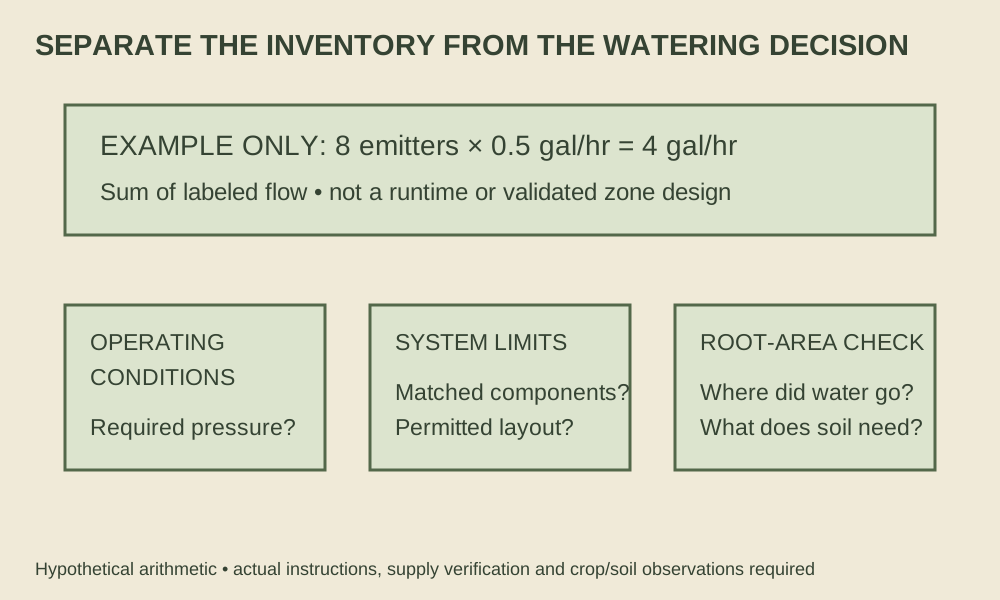
Record each delivery component’s stated flow and its required operating conditions. Flow describes an amount of water over time; pressure describes another part of the system’s operation, and one number cannot stand in for the other.
For a simple hypothetical inventory, eight emitters labeled one-half gallon per hour total four gallons per hour at their specified conditions. That addition is a bookkeeping example, not a validated zone design or a recommendation for how long to water.
Utah State’s vegetable guidance relates watering to crop, soil and conditions rather than a universal timer schedule. An emitter’s gallons-per-hour rating alone does not tell you the appropriate irrigation depth or whether water spreads through the root area as intended.
Use manufacturer layout limits and local guidance to evaluate the complete zone. If the necessary pressure or supply information is missing, resolve it before installation instead of treating a precise-looking emitter total as proof that everything will work.
Group plants for a manageable decision
Consider whether the plants connected to one control can reasonably share its operation. A bed and several containers may sit close together while drying differently, so physical proximity is not the whole grouping decision.
Colorado State cautions against putting conventional sprinklers and drip delivery on the same zone. Keep unlike delivery methods out of one assumed schedule, and ask for help if an existing system makes the grouping unclear.
Draw the controls and label what each one serves. You should be able to stand at the source and explain which planted area will receive water when a particular valve or timer program operates.
Keep any manual watering plan explicit. If a hanging basket remains outside the drip arrangement, write that down instead of assuming an automatic system now covers every plant in the yard.
Make the first operation an inspection
Follow the manufacturer’s setup and flushing instructions for the chosen system. Before leaving it unattended, observe the whole route while it operates and check that each intended delivery point is connected and functioning.
Look at the soil around the actual plants, not just the presence of droplets at the tubing. You are checking the delivery arrangement against the planting map, including places where the line may have shifted during installation.
Record what you changed during the trial: a fitting, a route or an emitter location. Update the drawing so that a later repair starts from the arrangement in the garden instead of an attractive but outdated first sketch.
If the trial reveals uneven or missing delivery, investigate the cause before extending the schedule. More operating time is not a substitute for reconnecting a line, correcting a component mismatch or resolving a supply problem.
Walk through a small-layout example
Suppose you have two rectangular beds beside a path and three containers on the patio. Begin by drawing the two areas separately, even if one faucet could physically reach both; list the crop pattern and the delivery format you are considering for each.
Next, trace the tubing route and circle every place where someone normally walks, carries a harvest basket or moves a chair. Revise a troublesome route on paper before purchasing extra tubing to reproduce it in the garden.
Finally, write the information still missing beside the relevant component. A question about the source belongs at the source, while uncertainty about a connector belongs beside that connection, so a supplier can address a specific issue rather than guess what your entire drawing means.
Keep this example separate from your actual measurements and product limits. Its purpose is to organize the conversation, not to establish that two beds and three pots can share one particular kit or operating schedule.
Leave yourself a way to maintain it
Keep required inspection points and shutoffs accessible. Label components that will be difficult to identify after plants spread, and save the actual manuals and replacement-part information with the drawing.
Check for disconnected lines, blocked delivery points and leaks during routine garden visits. Recheck the arrangement after harvesting, moving containers or working around the beds, since those activities can disturb an otherwise unchanged system.
Use our garden-watering guide when you decide whether conditions call for a change in watering. Keep that plant-and-soil decision separate from the question of whether the hardware is delivering water correctly.
Your completed plan should explain what feeds the system, which components fit, what each control serves and how you will verify delivery. That gives you a maintainable garden tool instead of a timer setting you hope is doing the right job.