Mulch your vegetable bed as a surface covering with a clear boundary around each plant, rather than as a blanket you push against every stem. Choose the material, timing and arrangement for the actual crop and conditions you have.
You are trying to cover soil while keeping plants visible and accessible. A neat-looking bed is not the goal if the covering hides seed rows, traps material against stems or makes watering difficult to judge.
Begin with one bed and a small section you can inspect easily. That lets you establish a workable arrangement before you spread a large pile across the entire garden.
Name the problem you want mulch to address
Write down your main purpose: reducing exposed soil, limiting weeds, conserving moisture or managing the surface around an established crop. Several benefits may overlap, but a specific purpose helps you choose an appropriate material and recognize a poor result.
Minnesota Extension describes mulch as a way to limit moisture loss and weeds and moderate soil temperature. Those functions depend on the material and how you manage it, so do not read them as a guarantee that any covering solves every soil problem.
For example, slowing moisture loss does not establish that a wet bed needs more water. Keep the separate watering decision tied to the root area rather than the appearance of the mulch surface.
If your main concern is an unidentified plant problem, investigate it before adding a new layer. Mulch can obscure the base of a plant and make it harder to compare what changed before and after the symptom appeared.
Check the material and its history
Identify what you actually have, not just the name used in a marketplace listing. Straw, hay, shredded leaves and grass clippings differ, and an unidentified bale should not be treated as clean vegetable-garden mulch because it is inexpensive.
Minnesota identifies weed-free straw as an option for vegetable gardens. Ask about the actual source and condition of the material, and consider where you will store it before you bring a large quantity into a small yard.
If you are using grass clippings, Minnesota’s lawn-clipping guidance calls for dry material and warns against clippings from recently treated lawns. Check the actual herbicide label for restrictions instead of inventing a waiting period from a general gardening post.
Do not treat a material’s free price as a complete description of its suitability. If you cannot establish a relevant treatment history, choose a different source rather than spreading an uncertainty around the vegetables you already planted.
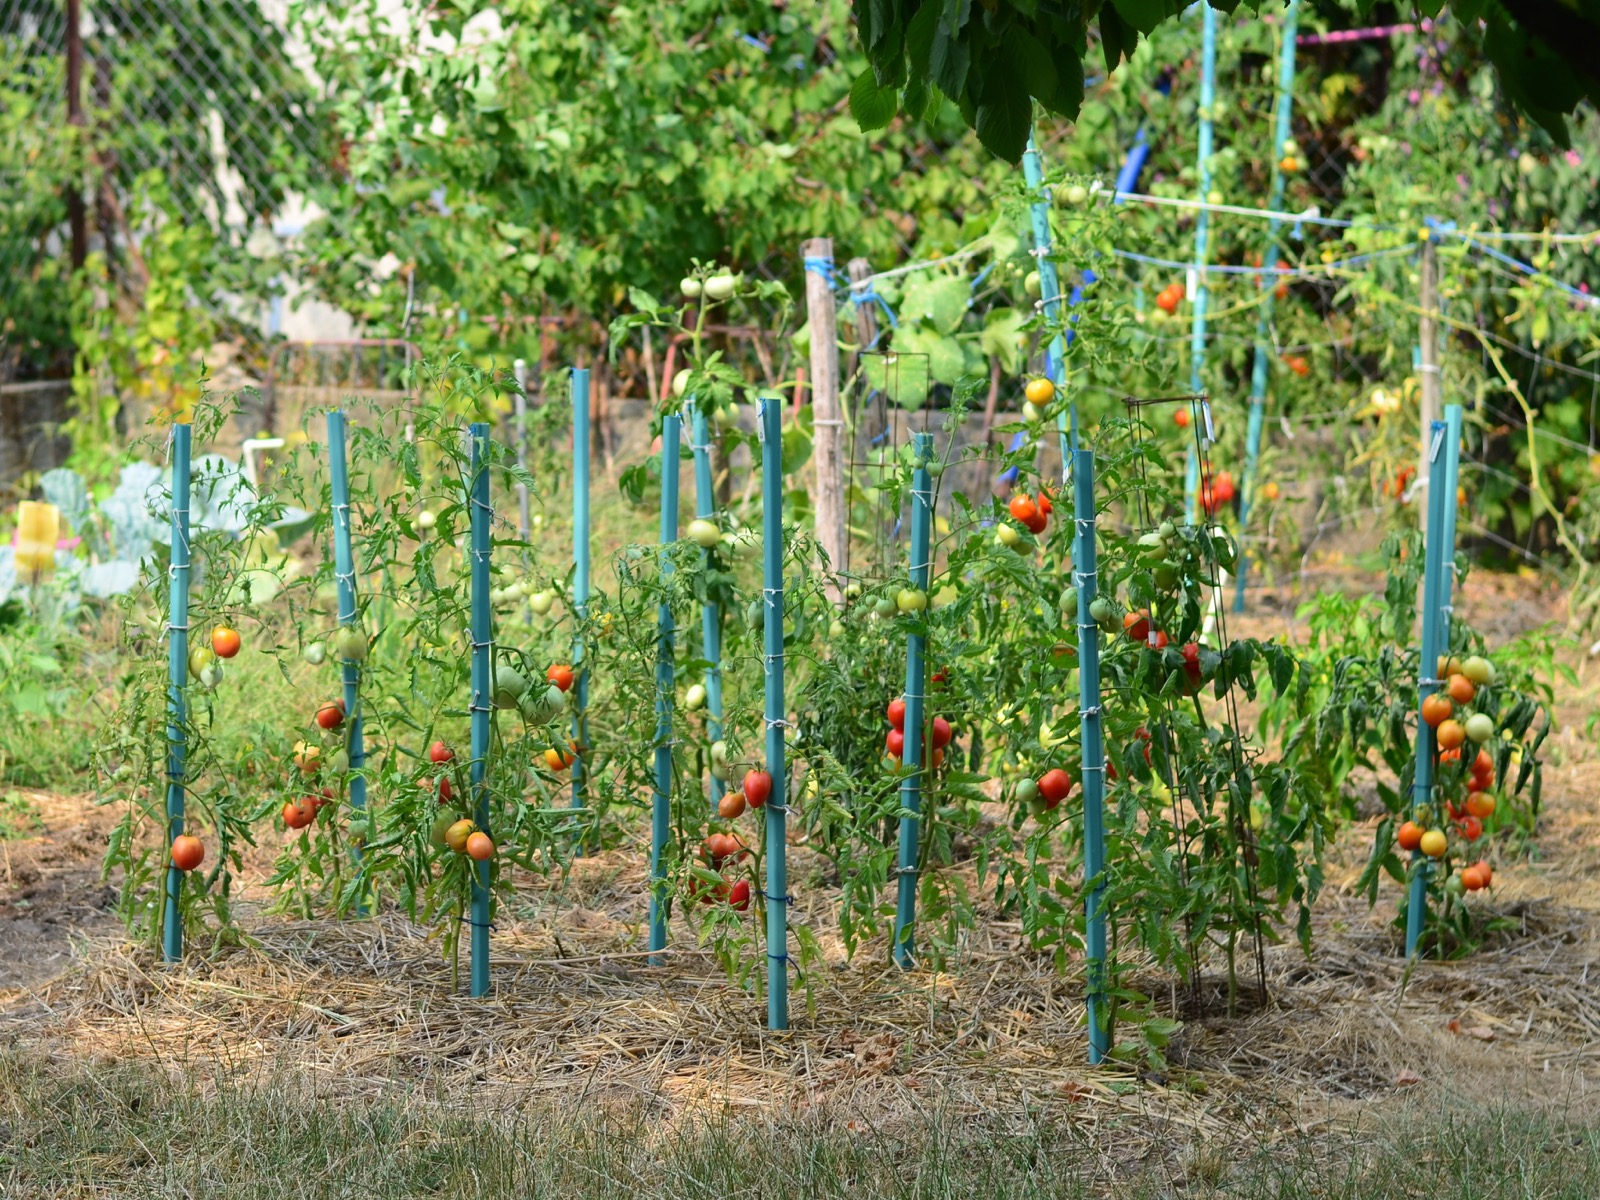

Let the crop and soil set the timing
Distinguish an established transplant from a row that has just been sown. If you cover the place where small seedlings need to emerge, the fact that mulch is useful later does not make that early arrangement sensible.
New Hampshire Extension places natural mulch around vegetables after crops are growing and soil has warmed. Read that in relation to your crop and local season, rather than converting a northern garden’s timing into one national date.
Look at the bed before you bring out the material: locate each plant, mark any seed rows and identify areas you still need to reach. A quick sketch is useful when young plants are hard to see against soil and straw.
If you are planning successive sowings, leave a clear working area for them. Otherwise, you may finish spreading mulch only to remove it again to prepare the next planting strip.
Prepare the surface before you cover it
Deal with existing weeds before laying mulch, using a method appropriate to the bed and plants. Covering visible weeds and assuming they have disappeared gives you a misleading starting point for judging the new layer.
Check the soil and the watering arrangement while they are still easy to see. Note where your hose or irrigation line lies so that it will not become an unexplained lump or a hidden obstacle after the surface is covered.
Keep the pathway and the planting area distinct as you work. A bucket beside the bed gives you a place for material you remove from around plants instead of pushing every spare handful into the nearest stem.
Start with an area you can reach from a stable position without leaning on the plants. Work backward toward your exit so that you are not repeatedly stepping through the section you just arranged.
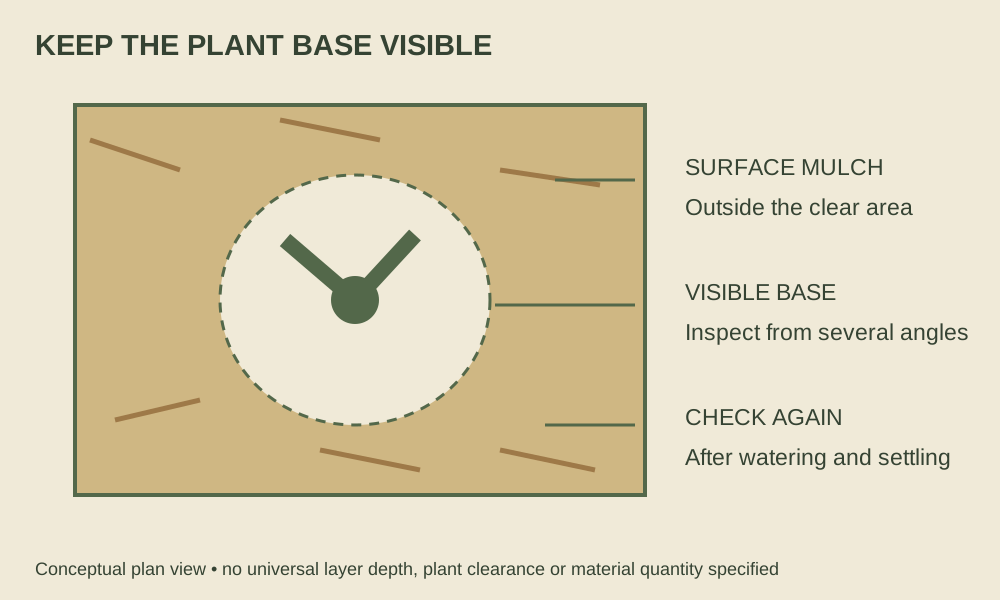
Keep the base visible
Place material on the surrounding soil, then pull it away from direct contact with each stem. Both Minnesota and New Hampshire advise keeping mulch away from plant bases, and New Hampshire connects persistent stem contact with disease concerns.
Check from more than one angle after spreading. Straw can bridge across a small gap, and a plant’s lowest leaves may hide material that has collected against its base.
Use the plant as the reference point rather than a perfectly circular decorative ring. The practical result is a visible, inspectable base and a covering that stays on the soil where you intended it.
Leave identification markers readable and access to any fittings you need to check. A covering that conceals the valve or makes every plant label fall over creates extra work each time you tend the bed.
Use material-specific guidance for the layer
Do not give every mulch the same thickness just because a general article mentions a depth range. Fine clippings can mat, while loose straw behaves differently, so follow guidance for the exact material rather than compressing everything into one rule.
Minnesota cautions that wet or thickly applied clippings can create a restrictive mat. If you choose clippings, use its specific instructions and inspect the layer as it settles instead of treating a dense pad as extra protection.
Consider how the material will move during routine care. A light covering may shift when you water or harvest, so check whether the original stem clearance still exists after a few visits.
If the layer has become patchy, investigate before adding more. You may need to redistribute material, reopen access or correct an accumulation rather than increase the amount everywhere.
Test your access before finishing the bed
Try the normal jobs around your first completed section: reach the plant label, inspect the stem and lift a small patch of covering to check the soil. If each task requires moving a large pile, change the arrangement while the rest of the material is still in your cart.
Leave room for the plant’s ongoing care rather than fitting mulch tightly around today’s small footprint. You want an arrangement that remains easy to inspect when leaves spread, supports are added or a neighboring crop is harvested.
Inspect the bed as a working system
Return after watering or rain and look at the soil, plant bases and access points. The questions are whether water reached the intended area, whether material moved, and whether you can still inspect each plant without a major cleanup.
A dry-looking mulch surface is not a reliable watering instruction. Move a small section aside to evaluate the soil according to your normal method, then restore the covering without pushing it into the plant.
Record the material source, approximate application area and date, along with any treatment information you relied on. Add a note if you later change materials so that a developing problem does not get attributed to the wrong layer.
At the next planting, decide deliberately what to remove, retain or replenish using guidance for that material and crop. Keeping mulch on the surface is a different action from mixing undecomposed material into the root zone.
Your finished bed should be easier to care for, with visible plant bases and a clear way to check the soil underneath. If the covering gets in the way of those jobs, adjust the arrangement rather than preserving it for appearance alone.