Clean reused seed trays and plant pots by identifying the material, removing old growing debris and following an appropriate disinfection process when needed. Keep cleaned containers separate from the dirty collection so the work leaves you with a usable planting supply.
The goal is not to make every old pot look new. You want to know which containers remain suitable for your next crop, which need further attention and which should leave the planting rotation.
Start before you need to sow seeds or transplant. A tray waiting beside open seed packets creates pressure to skip inspection, while a small preparation session gives you time to resolve missing labels or damaged cells.
Decide what is worth keeping
Sort containers by type and intended use before washing them. Keep seed-cell inserts, supporting trays and individual pots identifiable rather than assume pieces that nest together are a matched growing system.
Look for cracks, distorted surfaces and drainage openings you cannot restore appropriately. A container that no longer performs its intended role should not earn another season solely because its outside looks tidy.
Record the actual dimensions of useful reusable pieces and any manufacturer’s markings. That information helps you choose compatible inserts or storage later without buying a new component based on a similar-looking photograph.
Keep the quantity connected to your planting plan. Saving every available pot can leave you cleaning and storing a large collection you will never use while the few trays you need remain buried underneath it.
Identify the surfaces you are cleaning
Iowa State distinguishes nonporous plastic and glazed containers from porous clay or terra-cotta. Material matters when selecting a cleaning and disinfection method.
Check the maker’s care instructions when available, including any restrictions for the particular material. Do not assume a thin cell insert, coated decorative pot and clay container tolerate the same handling or treatment.
If you cannot establish that an old container is appropriate for the proposed growing use, keep it outside the ready group while you investigate. A familiar shape is not evidence of its original purpose or treatment history.
Remove labels you no longer need only in a way compatible with the item. Preserve a useful model marking or replace it in your notebook before it disappears beneath new tape or a storage label.
Create a route from dirty to ready
Designate a place for dirty containers, an area for the cleaning work and a separate place for finished items. Keep the route understandable enough that you do not return a prepared tray to the original dirty stack.
Arrange the workspace and disposal of debris around the actual product instructions and local requirements. Keep seed packets and fresh growing medium away from the dirty work rather than treat the potting table as one undivided surface.
Work in manageable groups of similar items. You can see whether each cell and underside has received attention more easily than when several different pot types are piled into one oversized batch.
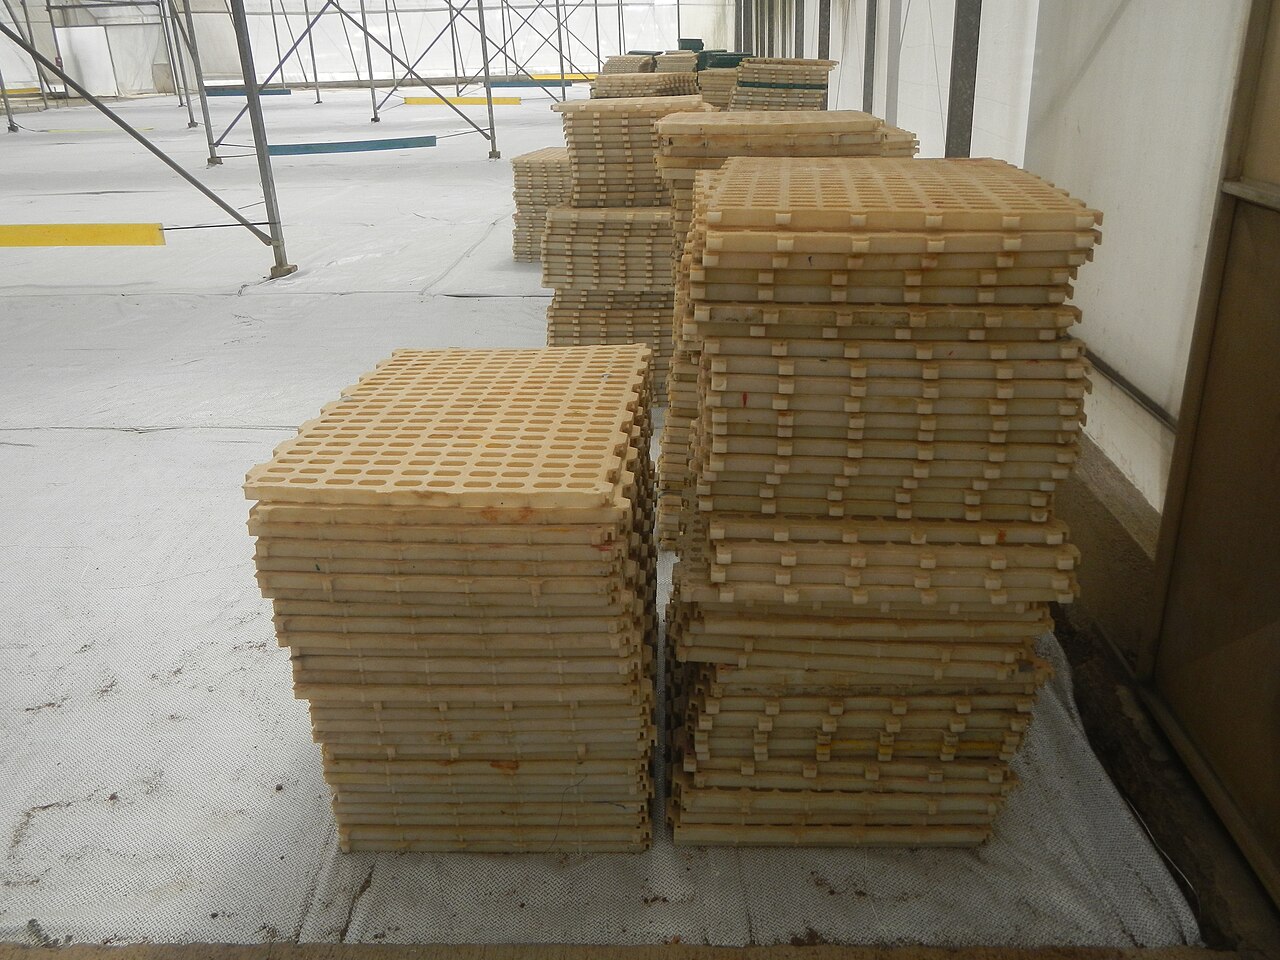

Remove old debris before treatment
Iowa State describes removing loose debris and washing containers before disinfecting them. Pay attention to inside surfaces, the outside and details that can retain material rather than clean only the visible rim.
Use a suitable brush and cleaning method for the container, following its care instructions. Check cell corners and drainage openings without enlarging them or damaging the structure in an attempt to remove a stubborn deposit.
Keep mineral deposits distinct from leftover growing medium in your assessment. If a mark remains, identify an appropriate method for that material instead of adding an unplanned chemical to the wash.
Stop if the process exposes a crack or a cell that tears under ordinary handling. Move that item out of the ready group and decide on a suitable reuse, local recycling route or disposal option separately.
Choose treatment with the actual label
Minnesota Extension explains that plant pathogens can travel on containers, including material that is not visible. Cleaning away debris and disinfecting are related tasks with different purposes.
Select a method suited to the container and the plant-health concern, using reliable guidance and the actual disinfectant label. Read the permitted uses, preparation, required protection and treatment sequence before beginning.
Do not substitute a remembered mixing ratio from another product or combine chemicals to make the process seem stronger. If the label does not support the intended use or you cannot read it, resolve that issue before treating the containers.
Write down the exact product identity in your work note if you need a record. Avoid describing a tray as sterilized simply because it passed through a cleaning session; use language that matches the process you actually completed.
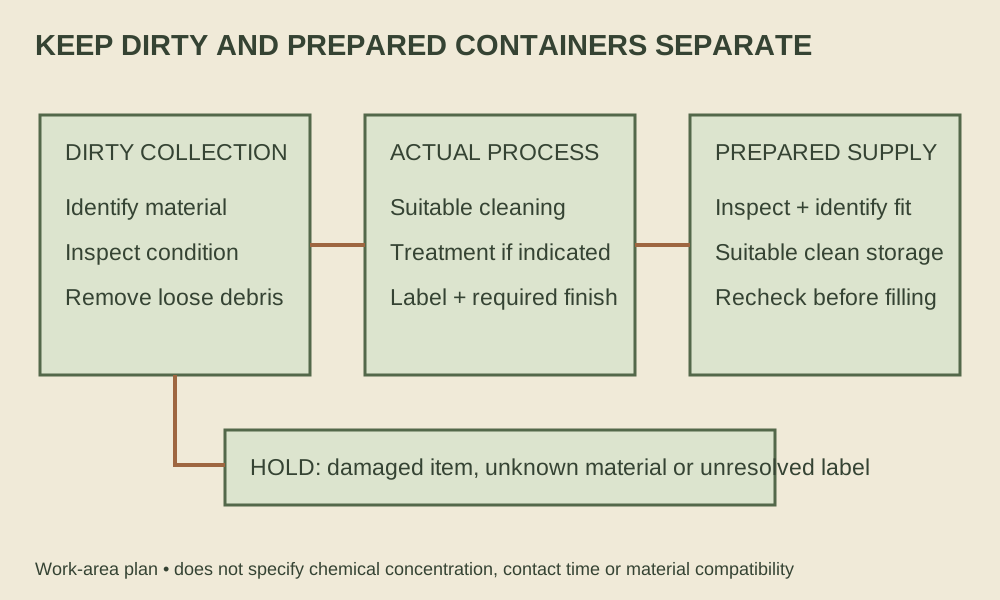
Finish the process before nesting
Complete any rinsing, drying or other finishing steps required by the selected method and container instructions. Do not shorten a required step just because another batch is waiting for the same workspace.
Inspect the finished items before stacking, including supporting trays and drainage arrangements. A clean insert with a damaged support tray can still leave the growing setup incomplete.
Store prepared containers in a suitable clean location and label the group with its intended role. Keep unprocessed items separate so someone helping with seed starting does not have to infer readiness from appearance.
Leave enough information to identify the compatible pieces when you take them out again. For example, group the cell insert and its named supporting tray without claiming that all pieces of the same outside width are interchangeable.
Use a small batch to check the routine
Suppose your collection contains intact seed trays, several clay pots and a cracked plastic insert. Begin by separating those groups and removing the damaged insert from the planting supply.
Prepare the intact trays using instructions appropriate to their material, then address the clay pots with their own suitable method. Keep a short note of unresolved deposits or missing care information rather than repeatedly moving those pots through the finished area.
If you discover that you have enough prepared containers for the planned sowing, stop treating the rest as urgent work. You can review the remaining collection later with a clearer reason for keeping each item.
Buy replacements for the missing role
If your inspection leaves a gap, describe the needed function before ordering more containers. You might need a supporting tray rather than another cell insert, or a different pot size for the actual transplant plan rather than a large assorted bundle.
Write down the required fit and the pieces you already own, then compare those details with the selected product. Keep a replacement that has not arrived on the pending list so it does not get counted as prepared planting capacity.
This distinction also helps you limit storage. A useful container collection supports the crops and methods you intend to use; it does not have to include every container shape you might someday find a reason to fill.
Recheck the setup when planting begins
Before filling a prepared container, confirm its condition, drainage and fit with the growing system you intend to use. Storage does not establish that a piece has remained undamaged or that the planting plan has stayed the same.
Bring out only the number of containers you need and keep the remaining prepared supply separate. That reduces confusion between an empty tray waiting to be filled and a used tray coming back from another task.
A useful reuse routine leaves you with an honest inventory: suitable containers ready for the intended crop, a visible hold group and a smaller list of items to replace. You can then start planting with the right pieces instead of turning the sowing day into a hurried cleanup.