Clean and store garden hand tools by removing debris, checking the particular tool’s care instructions and separating routine maintenance from damage that needs attention. The useful result is a dry, identifiable tool you can inspect next season, rather than a shiny blade hiding a problem.
Start with the tools you actually used: pruners, digging tools and other nonpowered equipment. Keep powered equipment outside this workflow because its fuel, battery and service requirements need its own manual.
You do not have to repair everything during one afternoon. A small cleaning area and a separate place for unresolved tools make it easier to finish ordinary care without losing track of an unsafe or incomplete item.
Sort by identity and condition
Lay out the tools where you can see their working ends without reaching across exposed edges. Keep protective covers available and follow the handling precautions in each tool’s instructions.
Record the maker and model where readable, particularly for tools with replaceable parts. A photograph of the markings is more useful when ordering a part than a note saying the red pruner.
Separate a loose handle, missing fastener or damaged blade from an item that simply needs cleaning. Do not let cleaning become an implied approval to use a tool whose condition you have not resolved.
Mark the repair group clearly and keep it out of the ready-to-use storage area. Include the specific concern so you do not have to rediscover it when spring work makes the tool suddenly convenient.
Remove the material you can see
UF/IFAS distinguishes cleaning from disinfecting: removing soil, sap and other debris comes first. A disinfectant should not be treated as a substitute for getting that material off the tool.
Choose a cleaning method compatible with the surfaces and the manufacturer’s directions. Keep your hands clear of cutting edges, and avoid improvising a scraper or abrasive that could damage a coating or working surface.
Work on one identifiable tool or matching set of parts at a time. If the instructions permit disassembly, retain the original order and use the proper reassembly information rather than rely on a memory of how it looked.
Do not force a sealed or unfamiliar mechanism apart just to make the storage project feel thorough. When you cannot reach a dirty area using the approved method, check the maker’s service guidance before proceeding.
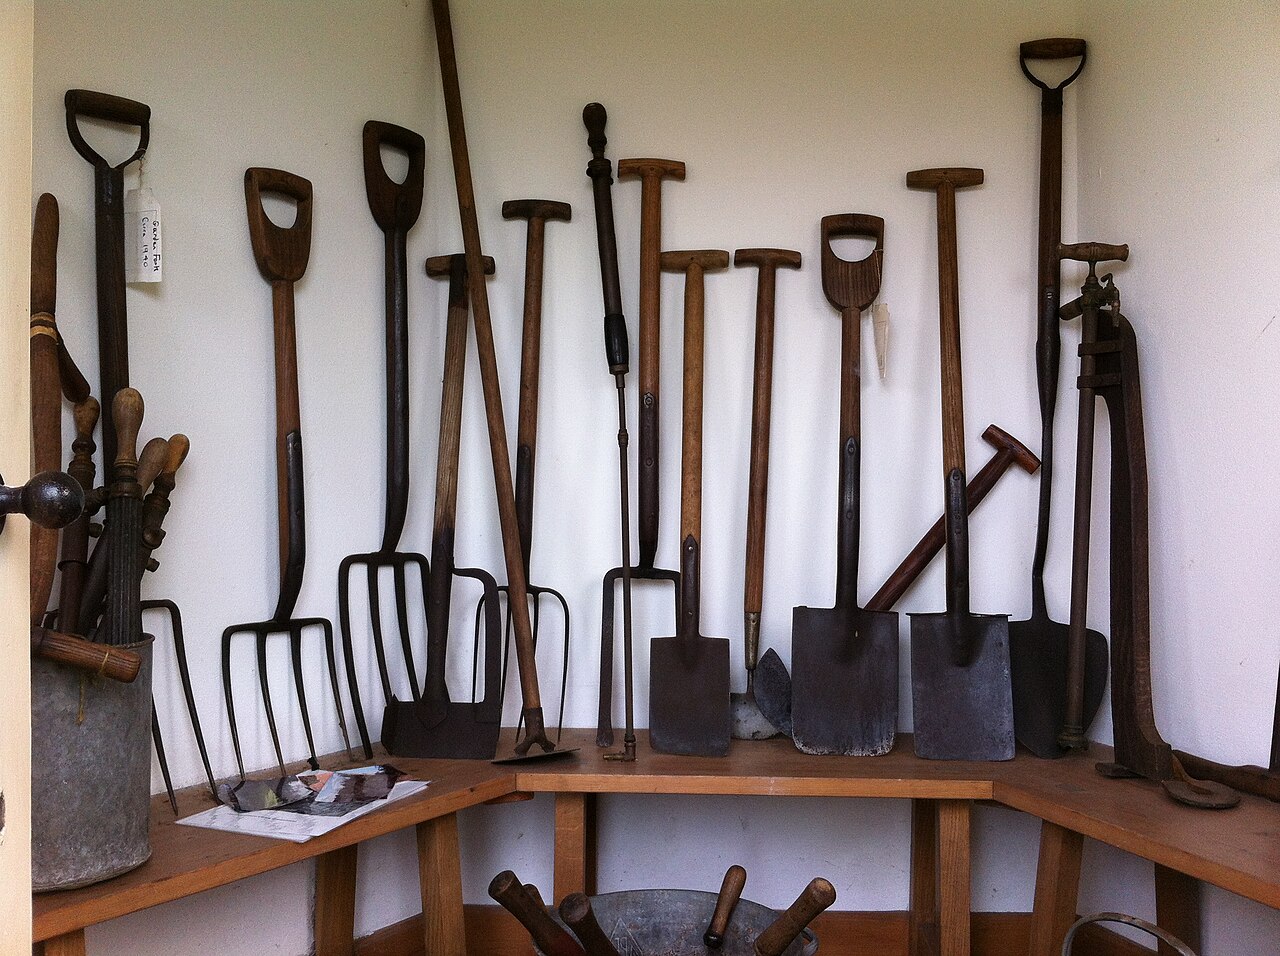

Decide whether disinfection belongs in the job
Minnesota Extension explains that tools can move plant pathogens, including material too small to see. A visibly clean blade therefore does not establish that it has been disinfected.
Consider where the tool was used and the plant-health situation before deciding what treatment is appropriate. Keep a tool used around a suspected plant disease separate while you obtain guidance suited to that concern.
Read the actual disinfectant label for the intended application, compatible materials, required protection and use instructions. Do not combine cleaners or borrow a concentration and contact time from an unrelated product.
UF/IFAS also notes that disinfectants differ in their properties and potential effects on tools. Match the treatment to the item instead of assuming that a method appropriate for one surface suits every metal, finish or handle.
Keep the product instructions at the work area
If a label requires a particular sequence or treatment period, make that information available before starting. A bottle without a readable identity is a reason to stop and resolve the product, not a reason to estimate its use.
Keep the work area organized so a cleaned item is not put back among dirty tools. Use separate locations for waiting, in-progress and finished items, with enough space to handle them as their instructions require.
Put chemicals away according to their labels when the task is finished. Do not leave an unlabeled container beside gardening supplies where its purpose could be mistaken for plant care.
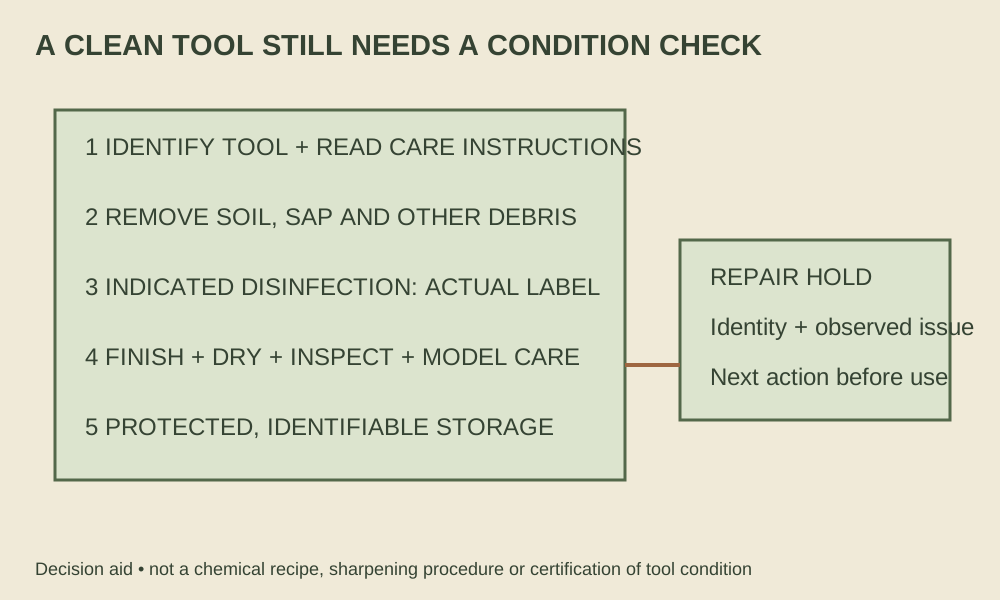
Dry and inspect before storage
Iowa State recommends cleaning soil from garden tools and drying them before winter storage. Use the particular tool’s instructions to determine appropriate protection for its metal surfaces and care for its handles.
Inspect the tool under enough light to see the areas you cleaned. Look for the concern you recorded at the start, and check whether cleaning exposed another problem that was previously hidden by debris.
Do not use a generic storage checklist to declare a damaged tool serviceable. If a handle remains loose or an edge has visible damage, retain the repair note and obtain the appropriate part or service guidance.
Keep repair materials and routine care products distinct in your notes. Applying a protective product cannot replace a missing fastener, restore an unknown joint or establish that a cracked component can be used safely.
Treat edge care as model-specific work
An edge that looks dull does not automatically need the same file or sharpening method as another tool. Check whether the maker permits sharpening, specifies a technique or calls for a replacement part.
FELCO’s maintenance information provides a useful example of that distinction: its pruning-tool care differs from its guidance for the FELCO 600 pull-stroke saw blade, which it says should not be sharpened. The model matters more than the general category cutting tool.
If the procedure exceeds your equipment or confidence, record that as a service task. It is better to have a clearly identified item waiting for proper attention than to alter an edge without knowing its intended geometry.
Give finished tools an identifiable place
Choose a dry storage location consistent with the tool instructions and your household’s access needs. Keep sharp ends protected and arrange items so retrieving one does not require moving an unstable group of others.
Store matching parts and approved accessories with a label connecting them to the tool. A replacement spring or cover becomes much less useful when it is loose in a drawer with several similar pieces.
Keep manuals or links in the same garden notebook entry as the model photograph. You can then find the care requirements without depending on a package that was discarded several seasons earlier.
Separate the storage job from the purchase list
Keep a second list for supplies you discovered you need, with the exact tool identity beside each item. That prevents a missing cover or appropriate replacement part from turning into an unnecessary purchase of an entirely new tool.
If two tools serve a similar purpose, compare their condition and your actual use before deciding what to keep. You may choose to maintain both, replace one or stop storing an item you never reach for, but make that decision after the inspection rather than while browsing a sale.
Give each unresolved item a next step that you can finish: find the model manual, obtain a matching part or ask the manufacturer about the observed damage. A general note saying fix tools next spring leaves the same uncertainty waiting for the busiest part of the year.
Leave a short record for your next workday
For each tool that needs attention, record its identity, the observed issue and the next action. Keep an item marked waiting for replacement handle separate from one marked cleaned and ready.
Suppose you finish two pruners and a spade but cannot identify a loose part on another cutter. Store the completed tools normally and leave that cutter on the repair list with photographs, rather than let one unresolved item stop the whole project.
At the next gardening session, check condition before use even if the tool was stored carefully. Your seasonal routine should make that check easier by leaving tools clean, protected and honestly labeled, without treating last season’s maintenance as a permanent guarantee.